


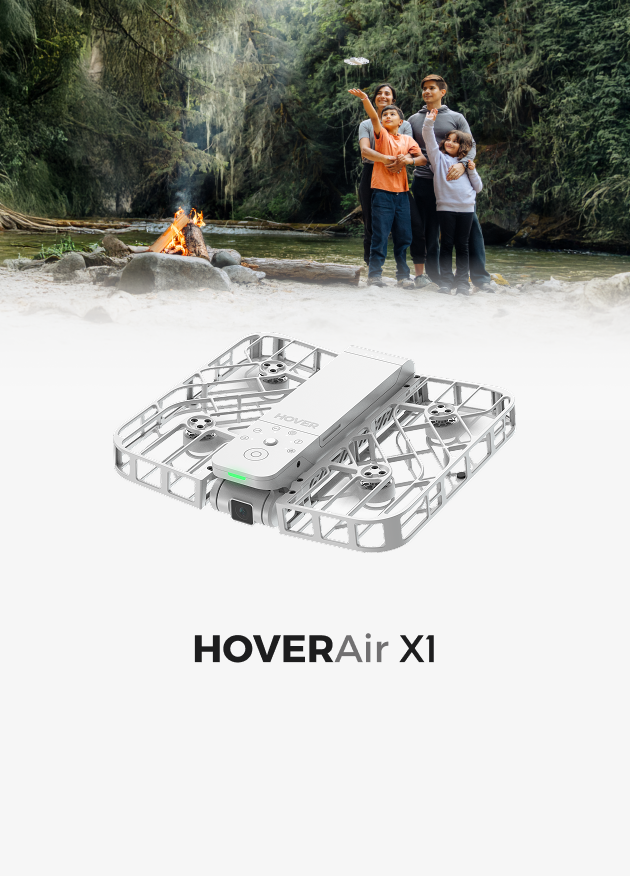


HOVERAir AQUA Beginner’s Guide: Everything You Need to Know
The HOVERAir AQUA is the world's first 100% waterproof flying camera built specifically for water sports. This guide breaks down the essential steps to get your device ready for the water. From the initial activation and flight controls to the crucial post-flight maintenance, these instructions will help you safely operate your new gear and capture your moments on the waves.
Watch the full video guide below to see exactly how to set up and fly your AQUA.
What's in the Box?
Before getting started, verify that your AQUA Standard Bundle includes the following items:
- AQUA (with 1 battery)
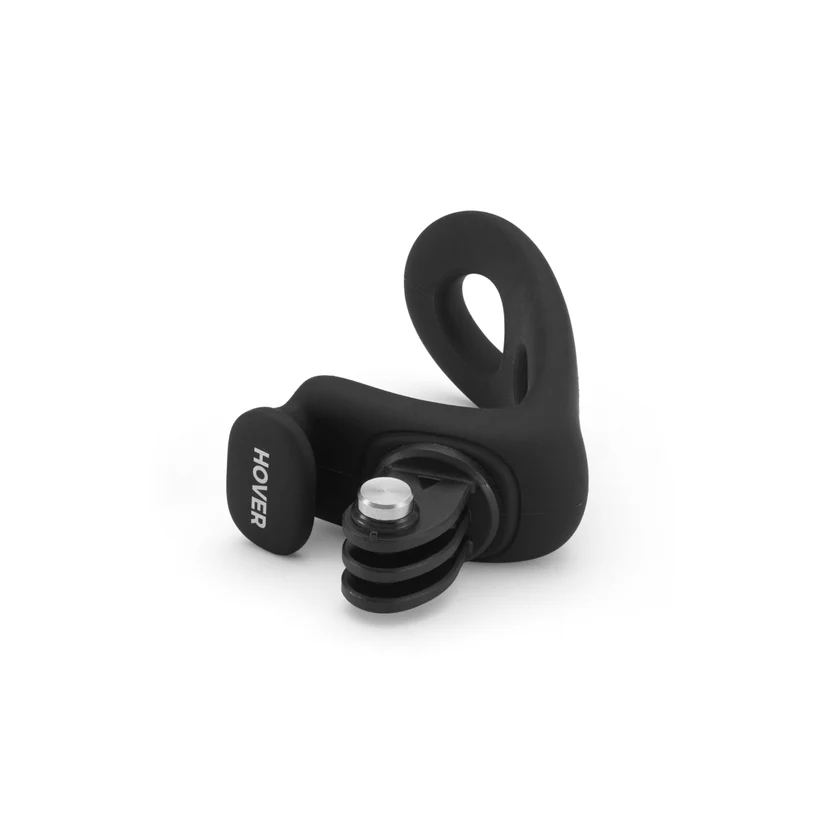
- Lighthouse (with 1 armband)
- USB C-C cable
- Repair Kit
- Battery Waterproof Bag
Once you confirm everything is ready, you can begin the setup process.

How to Activate and Pair the HOVERAir AQUA
To get ready for your first flight, you'll need to activate the AQUA and pair it with your Lighthouse.
Step 1: Activating the AQUA
- Long-press the Power button on the AQUA to turn it on.
- Scan the QR code displayed directly on the AQUA's screen to download the HOVER X1 App
- Follow the on-screen prompts within the App to finish the activation.

Step 2: Pairing the Lighthouse
- Long-press the side Power button on the Lighthouse to power it up.
- Follow the pairing guide displayed on the AQUA's screen. When prompted, press and hold the Up and Rotate Left buttons on the Lighthouse simultaneously to establish the connection.
HOVERAir AQUA Flight Modes and Settings
(Note: We are constantly updating our features, so flight modes may change over time. Please always refer to the X1 App for the most up-to-date and accurate list of options.)
1. Choose Your Flight Mode
The AQUA features over 9 flight modes tailored for different environments. Press the Select button on the AQUA to cycle through the options.
Basic Flight Modes:
- Follow: Keeps you perfectly in frame from the front, back, or side using precise automatic tracking.
- Hover: Hovers in place with manual gimbal adjustment. Ideal for static shots and selfies.
- Zoom Out: Flies backward and upward to reveal the surrounding panorama.
- Orbit: Rotates 360° around the subject. You can customize the radius and speed.
- Bird's Eye: Flies straight upward with the camera facing down.
Skilled Flight Modes:
- Spiral: Spirals upward to capture dynamic moments.
- Manual Control: Manually adjust the AQUA's orientation, direction, and height for precise framing.
- Dolly Track: For fast moving sports like foiling, make sure to change "Auto-Correction" to "Enhanced".
- Angle Track: Tracks alongside you for a side-profile view. For optimal tracking, avoid sharp turns and keep your speed below 18 km/h.
- 360° Spin: Spins 360 degrees in place. For large groups, launch the AQUA in the center and set a 2, 10, or 15-second delay to get into position.
- Orbit Follow: Circles the subject with a customizable radius and speed.
Water Modes:
- Kayak Mode: Adapted to the movements of kayaking, it uses mechanical gimbal stabilization to smooth out bumpy rides.
- SUP (Paddleboard) Mode: Tailored for standing and paddling, it tracks your full body and lets you adjust angles one-handed via the Lighthouse without stopping your paddling.
- Foil Mode: Precisely tracks your dynamic height changes and high speeds to keep you perfectly framed as you lift and glide above the water.
2. Adjust Your Parameters
Once you select a mode, press the Confirm button on the AQUA to access its settings. Alternatively, use the X1 App for full customization. You can adjust:
- Flight Parameters: Control how the flying camera flies, including tracking distance and altitude. For the best shooting quality and flight safety over water, set the follow distance to at least 5m.
- Camera Parameters: Fine-tune your visual settings for the shot. (Note: Footage shot in H-Log cannot be reviewed directly on the AQUA screen. Please download these clips to your phone to review them.)
HOVERAir AQUA Pre-Flight Checklist for Water Takeoffs
Water takeoffs require a fully sealed device, strong signals, and the right environment. Run through this quick checklist before you hit the water:
1. Environment
Don't take off or land directly on the sand. If you are on a sandy beach, always use a landing pad to prevent particles from getting into the motors.
2. AQUA
- Moving Parts: Ensure the gimbal moves properly and the propellers rotate freely.
- Water Indicator: Check the indicator—it must be fully white to fly safely.
- Seals and Locks: Verify the seal gasket is intact and tight. Lock the battery fully into place, and press the USB-C cover completely flat.

3. Lighthouse
- For water sports, always use the double-lock method to keep the Lighthouse securely attached during intense movement.
- Wear it on your upper arm, making sure the black antenna area is always clear and facing up for the best signal.
- Press the Lighthouse’s USB port cover completely flat.

4. System Setup
Do not launch the flying camera the second it powers on. Look at the upper left corner of the AQUA's screen and wait for these two icons to appear:
- OmniTerrain Icon: Relies on satellite signals and works best in open areas. Water takeoff is strictly prohibited if this icon is off.
- Lighthouse Tracking Icon: Confirms the remote connection, allowing the AQUA to follow you precisely even if you temporarily drop out of the frame.

Finally, always ensure your firmware is updated to the latest version for optimal tracking and stability.
How to Take Off and Return the HOVERAir AQUA
Four Ways to Take Off
- Lighthouse Takeoff: Press the Takeoff button on the Lighthouse to launch the flying camera directly from the water or a landing pad. If the AQUA is floating upside down in the water, it will automatically perform a Turtle Flip to right itself before taking off.
- Hand Takeoff: Hold the AQUA and press the Takeoff button on the device. Make sure your hands are clear of the rear antenna area. Once the propellers spin up, simply let go.

- App Takeoff: On the X1 App's manual control page, simply tap the Takeoff button on the left side of the screen.
- Remote Controller Takeoff: For manual launching, move both virtual joysticks down and inward (or outward) to start the motors, then push the left joystick up.
Three Ways to Return the AQUA
- Lighthouse (Return to Home): Press the Return to Home button to call the AQUA back to your current location.
- Remote Controller Return: Long-press the Function button to send the AQUA back to its initial takeoff or Beacon location.
- App Return: Tap the Return button on the App's manual control page to send it back to its initial takeoff or Beacon location.
Two Ways to Retrieve the AQUA
There are two ways to retrieve the AQUA that you can set in the X1 App in advance:
- If you select "Hover": Press the RTH button and the AQUA will return and hover in place. If you move around, it will follow you. To retrieve it, simply grab it from the top, then immediately flip it upside down to stop the motors.
- If you select "Land": Press the RTH button and the AQUA will return and hover at a safe distance. If you don't do anything for 15 seconds, it will gently land on the water, so you can just pick it up.
HOVERAir AQUA Post-Flight Maintenance and Cleaning
Saltwater and sand can cause wear over time. Follow these quick steps after every session to keep your flying camera in top condition.
Step 1: Dry Your Hands
Always dry your hands thoroughly before touching the device or removing the battery.
Step 2: Check the Water Indicator
Look at the indicator immediately after your flight. If it has turned red, do not use the AQUA. Wait until it is completely white again before powering it on.
Step 3: Rinse with Fresh Water (Keep the Battery Inserted)
After flying in saltwater, do not remove the battery. Keep it inserted and rinse the entire device under running fresh water for a few minutes. While rinsing, gently spin the propellers and move the gimbal to flush out any trapped salt or sand and keep everything moving smoothly.
Step 4: Pat the Lens Dry
Gently pat the lens with a soft cloth. Do not rub it, as trapped sand can easily scratch the glass.
Step 5: Verify the Port Before Swapping
If you are putting in a fresh battery for another flight, double-check that the battery port is completely dry and the water indicator is white.
Step 6: Inspect and Store Safely
Regularly check the metal connectors for signs of corrosion. If you spot any, stop using the device and contact customer service. Always store your gear in a cool, dry place away from direct sunlight.
Head Out and Start Filming!
Now that you know how to set up, fly, and maintain your HOVERAir AQUA, you are fully prepared for your next session. By running through the pre-flight checks and rinsing the device with fresh water after every use, your flying camera will stay in top condition. With the right flight mode selected and your Lighthouse securely strapped to your arm, all that is left to do is head out and hit record. Enjoy capturing your time on the water!
FAQs About HOVERAir AQUA
Q1: How long does the HOVERAir AQUA fly on a single charge?
A: It provides up to 23 minutes of flight time. The actual results may vary depending on environmental conditions and usage, and firmware version.
Q2: How much does the HOVERAir AQUA weigh, and do I need to register it?
A: It weighs less than 249g, which means in most regions, it does not require additional registration to fly, offering greater convenience and fewer restrictions.
Q3: What is the HOVERAir AQUA's transmission range and video quality?
A: Phone (HOVER X1 App): Maximum distance 500m. Beacon: Up to 1 km. The maximum distance is measured in vast, open areas with minimal RF interference, such as mountains or coastal regions. Actual range may vary based on the environment and smartphone model.


