












HOVERAir Versa Beginner’s Guide: Everything You Need to Know
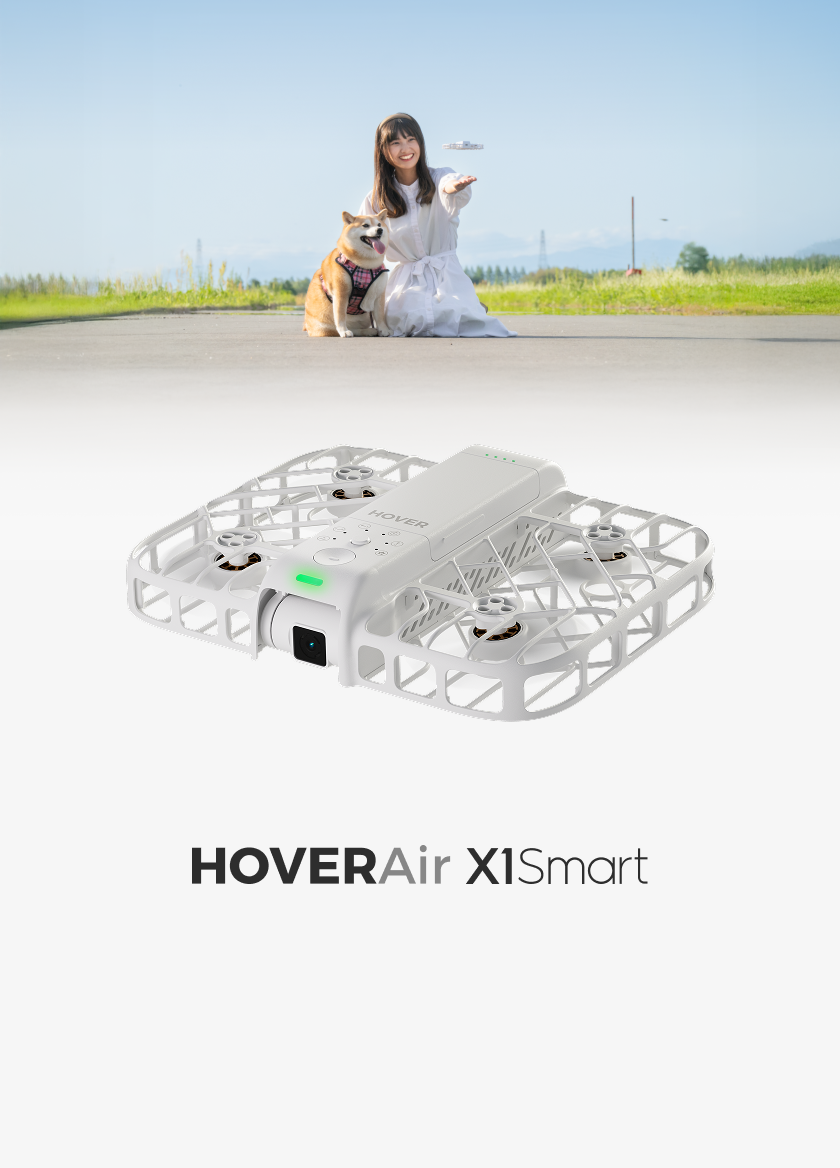
HOVERAir VERSA combines handheld filming and self-flying capture in one compact device. This guide covers everything you need to get started, from setting up your VERSA to capturing your first shots by hand and in the air.
Watch the full video guide below to learn how to set up your VERSA, film handheld, and attach the Flight Kit for aerial shots.
What's in the Box?
Before setting up, make sure that your VERSA FlySmart Combo includes the following items:
- VERSA (with 1 battery)
- Flight Kit
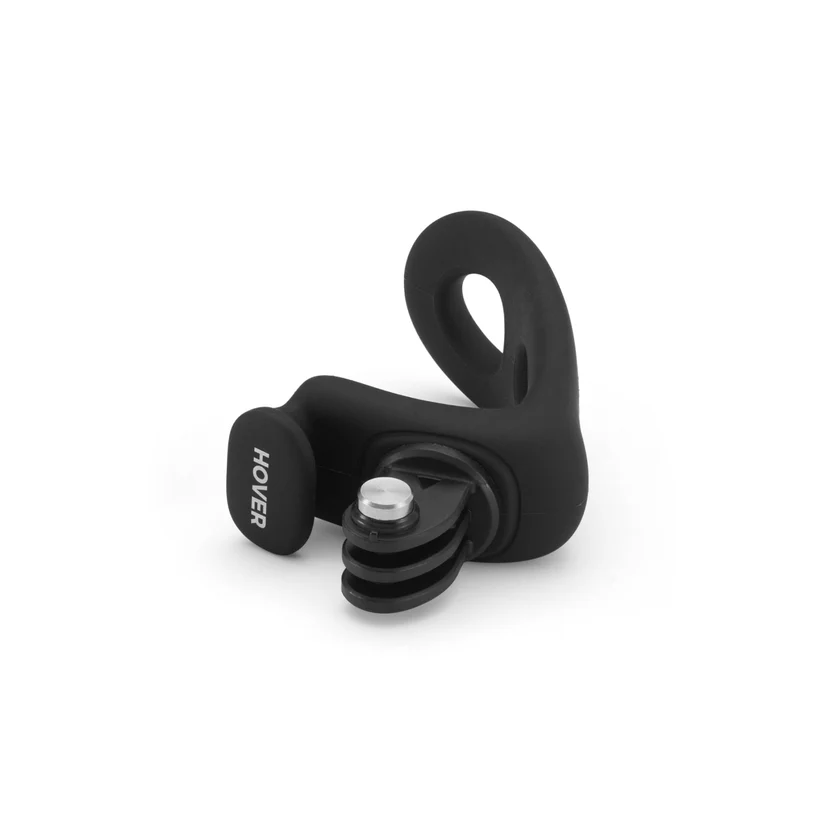
- Gimbal Protector
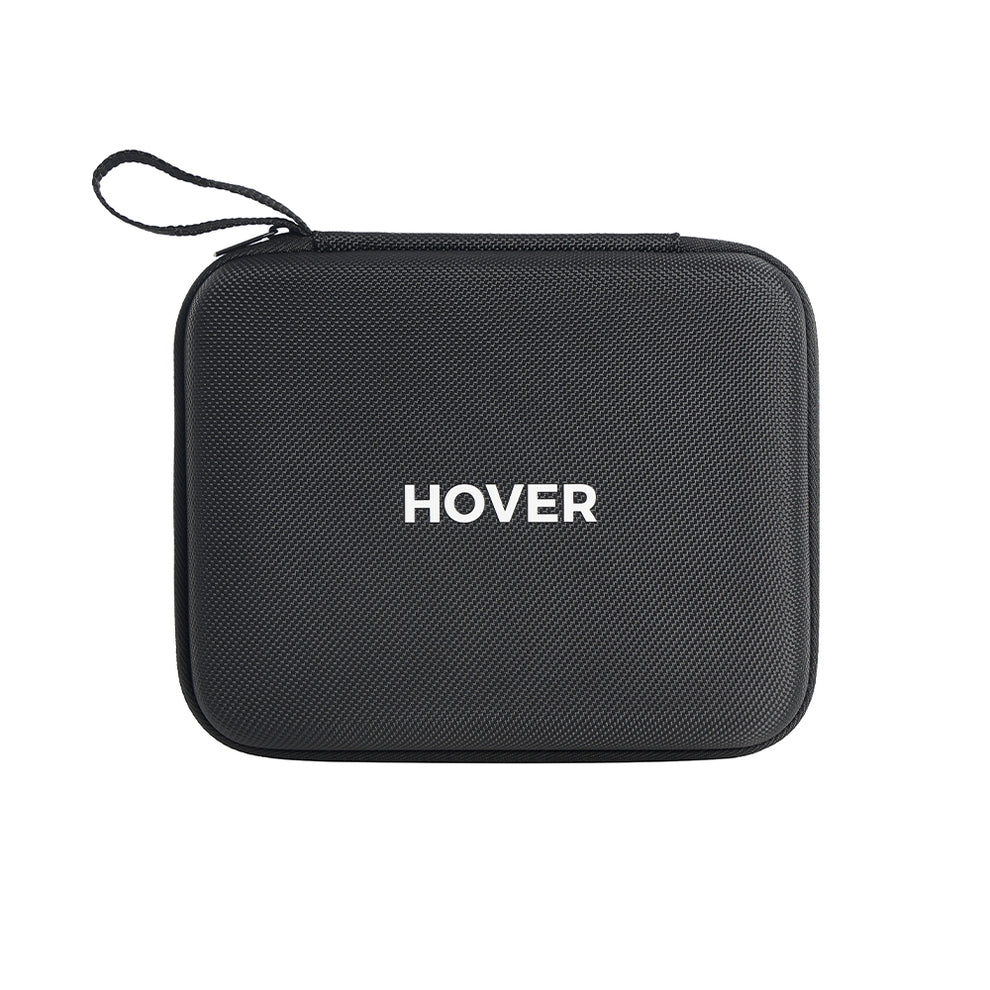
- Carry Bag

Once you've checked everything is in the box, you're ready to set up your VERSA.
How to Activate the HOVERAir VERSA
To get started, activate your VERSA using one of the connection options below:
Wi-Fi Available
Follow the on screen instructions to connect VERSA with Wi-Fi.

Wi-Fi Not Available
- Tap No Wi-Fi to continue. Scan the QR code or use the download link below to get the HOVER App, then connect your VERSA. Download the HOVER APP
- Follow the prompts to activate your VERSA, then go through the quick start guide to learn its basic features and controls.

Tips: Keep your VERSA updated for the latest features and improvements.
Capture Your First Handheld Video with HOVERAir VERSA
Use VERSA as your vlogging camera to capture moments on the go. Start with the basic setup below, then explore more features as you shoot.
Set Up and Start Recording
- Choose a gimbal mode: Select the mode that suits your shot. Its 3-axis gimbal helps keep your footage smooth.
- Adjust your camera settings: Set the camera parameters to suit your scene.
- Frame your shot and start recording.
Explore More Shooting Features
- Lossless 2X Zoom: Tap the zoom button to adjust your framing as you shoot. Lossless 2X Zoom helps you highlight details or create a tighter composition.
- AI Low-light Enhancement: It improves detail and clarity when shooting in dim conditions with automatically turn-on. To disable it, follow the on-screen prompt or swipe right to open Settings.
- Smart Tracking: It automatically keeps your subject in frame as they move, making it easier to capture natural movement. To get started, enable Smart Tracking in Settings, return to the preview, and double-tap your subject.
- Skin Glow and Color Profiles: Turn on Skin Glow or select a color profile before recording. It gives your subject a more polished appearance, while color profiles let you tailor the look of your footage to your style.
- 4K Vertical Videos: Rotate the entire VERSA camera 90° to shoot vertical video in full 4K resolution. (Rotating only the screen records a cropped 3K vertical video.)
Switch from Handheld to Flight Mode
Attach the flight frame to turn VERSA into a self-flying camera, then follow the checks below to prepare for your first flight.
Pre-Flight Checklist
Before taking off, check your surroundings and make sure VERSA is properly assembled and ready to fly.
- Choose an open area: Give VERSA enough space to take off, follow its flight path, and land.
- Attach the flight frame securely: Slide down the cover, align the pogo pins, and attach the frame.
Check both sides: if any red markings are visible, VERSA is not securely latched. Reattach it before continuing.

- Fully unfold the frame: Make sure it is completely open, then rotate the screen to the vertical position.
- Check OmniTerrain Icon: Before flying over water or terrain with steep drops, make sure the OmniTerrain icon is on. If the icon is off, you can still fly in other suitable areas.
- Choose your flight mode: Select a mode for the shot you want, then use the on-screen controls to adjust its flight settings.
Tips: VERSA also performs an automatic motor check before takeoff to help ensure it is ready to fly.
Ready to Take off
With all checks complete, follow these steps for your first flight:
- Position VERSA on your palm: Hold VERSA with the camera facing you.
-
Two ways to take off:
- You can press the red button on VERSA to take off;
- or you can press and hold the on-screen Takeoff button until you feel a vibration
- Wait before moving: After VERSA takes off, wait for the indicator light to turn red before you begin moving.
During your flight, you can use Gesture Control to switch flight paths and capture a different perspective.
Ready to Land
When you finish filming, bring VERSA back using either of these methods:
- Gesture Control: Use the landing gesture to bring VERSA back and land.
- Palm Landing: Place your hand beneath VERSA to receive it.
Start Capturing Your Next Adventure!
Your VERSA is ready for the first shoot. From handheld moments to aerial views, choose the mode that fits your scene and follow the pre-flight checks before taking off. Head out, hit record, and enjoy capturing your next adventure.
FAQs about HOVERAir VERSA
Q1: How long can the HOVERAir VERSA record on a single charge?
A: VERSA offers up to 180 minutes of handheld recording or 14 minutes of flight time. Actual battery life varies with settings and usage conditions. It also supports battery replacement. Additional batteries are available from the Accessories Store.
Q2: Does HOVERAir VERSA support automatic Return to Home?
A: Yes. VERSA supports automatic Return to Home (RTH) when the battery is low, or when it loses the subject while in Manual Control mode.
Q3: How much does the HOVERAir VERSA weigh, and do I need to register it?
A: VERSA weighs approximately 230g with the Flight Kit attached: around 163g for the handheld camera and 67g for the Flight Kit. Its lightweight design may qualify it for drone registration exemptions in some regions; However, local rules and operator registration requirements still apply.


