


Hover X1 App Introduction
|
|
Time to read 4 min
|
|
Time to read 4 min
Table of content
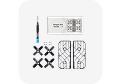
Scan the QR code to download and install Hover X1 App or go to download page: https://hoverair.com/pages/product-manuals
Using the Hover X1 app, you can download captured content to your device, manually control the device, see a live preview of what you're showing, and modify the flight modes and capture modes.
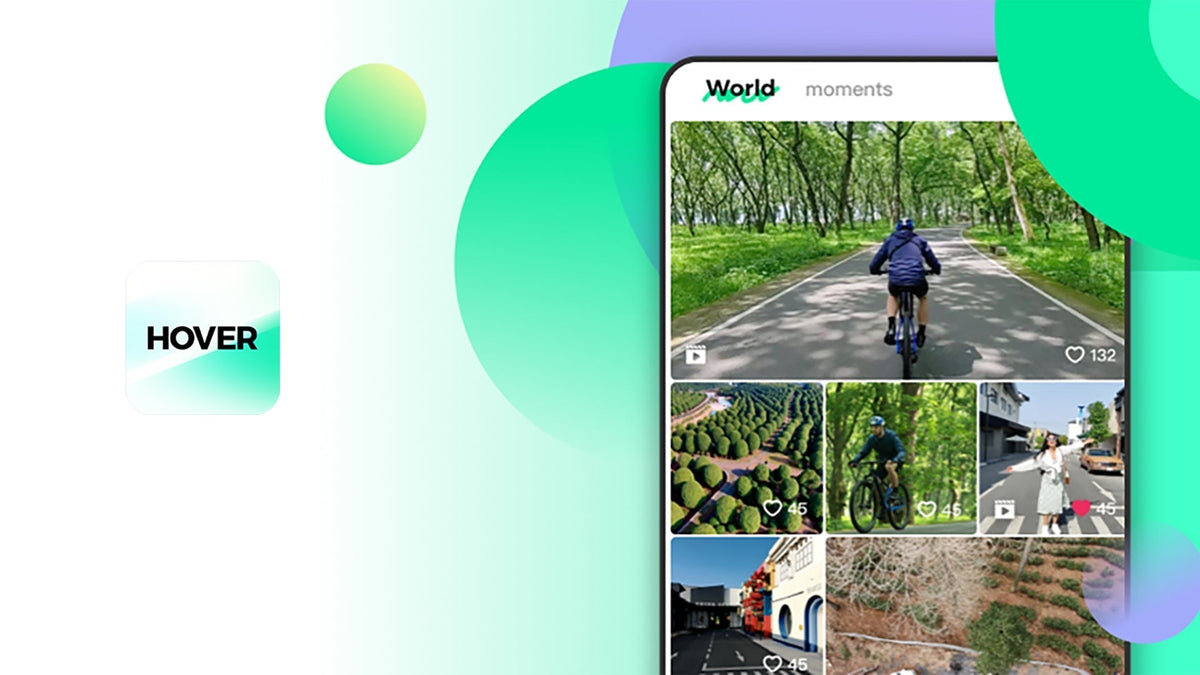
Home
See what others are sharing in the World tab and view and manage your own content under "Moments" ;
Hover
Functional settings related to Hover, including downloading media, setting parameters, upgrading firmware, etc. ;
Modes
Learn to use various flight modes and unlock new modes.
Me
Manage Accounts and your registered devices
Your HOVERAir X1 and the app are connected via Bluetooth, please follow the steps below:
Note: If you are unable to find your HOVERAir X1 for an extended period, Press and hold the "Power Button" and "Mode Button" for 3 seconds until the status indicator is blinking blue.
Check out our video tutorial here:
After Bluetooth is connected to Hover, you can click Hover setting to view and modify the parameters of each flight mode in the Hover page to take better pictures.
Here is a video about how to set the parameters of different flight modes.
Click "Manual Control" on the Hover page to control the Hover to fly a creative trajectory and take pictures or videos.
Click "Smart Preview" on the Hover page to see what your HOVERAir X1 is filming in real time and change parameters.
After each Bluetooth connection to Hover, if there is a new shot, you can tap Album on to access all media that has been recorded on your HOVERAir X1. Selecting the Album allows you to view thumbnails and download selected content.
You will be asked to connect to WiFi to download your media.
Please note that you are connecting to the WiFi only of the HOVERAir X1, not to the internet. How to connect wifi and download media, check video as follow:
All media is saved locally on the HOVERAir X1 and then downloaded directly to your device; there is no cloud storage or access to your media unless you specifically decide to share it!
You can click on![]() to view the usage of storage space.
to view the usage of storage space.
After downloading, the contents can be viewed on the home page or in the local album of the mobile phone.
Step 1 : Once connected to the Hover X1, select "Sound Recording" from the options. Step 2 : Follow the prompts to activate sound recording. You can deactivate this feature in the "Hover Setting" menu.
Check Recording Status : When the Hover starts recording video, your phone will immediately capture sound, indicated by a microphone icon on the screen.
Step 3 : Navigate to the "Hover's Album" to access and download videos with sound.
Video tutorial here:
Note: Since sound is recorded directly from your phone, it's essential to keep your phone nearby and avoid locking the screen or switching to other apps during recording. Our proprietary noise reduction algorithm minimizes blade and environmental noise from the Hover X1 during flight. For even better sound quality, you can connect external headphones or professional microphones.
Step 1: Connect to the Hover X1.
Step 2: Navigate to "Hover Setting" in the app.
Step 3: Select the mode option and choose "Vertical Mode."
Step 4: Toggle the switch to turn it "ON."steps click "Hover Setting"- choose the mode - "Vertical Mode"-" ON"
Note: Enabling vertical mode is not available in manual mode. While in manual mode, you'll see "Low-res preview" on the screen.
1. Before accessing Manual Control Mode, you must unlock it by engaging in "Intelligent Flight Paths" at least five times. Afterward, navigate to the app's latest version, click on "Mode," and select "Manual Control" to unlock this feature.
2. Once unlocked, you'll notice the entrance to "Manual Mode" on the main menu page, as illustrated below.
Smart Preview:
1. Connect the HOVERAir X1 to the app.
2. Access 'Smart Preview' from the menu.
3. Choose your preferred shooting option. For video: X1 will start recording automatically after takeoff.
For photos: Press the on-screen capture button.
Manual Control
1. Connect the HOVERAir X1 to the app.
2. Navigate to 'Manual Control' in the menu.
3. Choose your preferred shooting option.
Note: During the firmware upgrade, please do not exit the App and keep the Hover at room temperature with a charge above 30%.
You can modify the user name, user avatar, associated mobile phone number or mailbox, modify the login password, log out, and cancel the account.
View connected Hover information, including name, SN code, firmware version, binding status, etc. The name can be modified, removed.
For iOS users, it can adapt to the power frequency of different countries and regions to prevent stroboscopic phenomenon when shooting.
View App version, privacy agreement, terms of service and other information.
Find the Settings Guide for X1 PRO & PROMAX Here: https://hoverair.com/blogs/guide/getting-started-with-hoverair-x1-pro-and-promax

Most drones handle the sky beautifully, but they become fragile the second they encounter a lake or a heavy splash of sea spray. If you want to know what kind...
Most drones handle the sky beautifully, but they become fragile the second they encounter a lake or a heavy splash of sea spray. If you want to know what kind...

Ever searched for a drone that can automatically follow your kayaking trips? If you ask around, most people will tell you it's impossible without a skilled pilot on the beach...
Ever searched for a drone that can automatically follow your kayaking trips? If you ask around, most people will tell you it's impossible without a skilled pilot on the beach...

The HOVERAir AQUA has been designed with the water fully in mind. In addition to the technical challenges of creating a fully waterproof drone under 250g, we also carefully considered...
The HOVERAir AQUA has been designed with the water fully in mind. In addition to the technical challenges of creating a fully waterproof drone under 250g, we also carefully considered...

The standard advice for filming a solo water session is always the same: skip the drone and buy a 360 camera on a long stick. Until recently, that was the...
The standard advice for filming a solo water session is always the same: skip the drone and buy a 360 camera on a long stick. Until recently, that was the...

The Beacon and JoySticks serve as HOVERAir's all-new remote control solution, fully compatible across our entire lineup—from the X1 and X1 PRO/PROMAX to the AQUA. Acting as a unique tri-state...
The Beacon and JoySticks serve as HOVERAir's all-new remote control solution, fully compatible across our entire lineup—from the X1 and X1 PRO/PROMAX to the AQUA. Acting as a unique tri-state...

The intuitive design of the HOVERAir AQUA makes the repair process incredibly straightforward, allowing you to handle minor hardware maintenance right at home. This blog provides a clear, step-by-step guide...
The intuitive design of the HOVERAir AQUA makes the repair process incredibly straightforward, allowing you to handle minor hardware maintenance right at home. This blog provides a clear, step-by-step guide...


