


How to Get Started with Beacon on HOVERAir X1
Table of contents
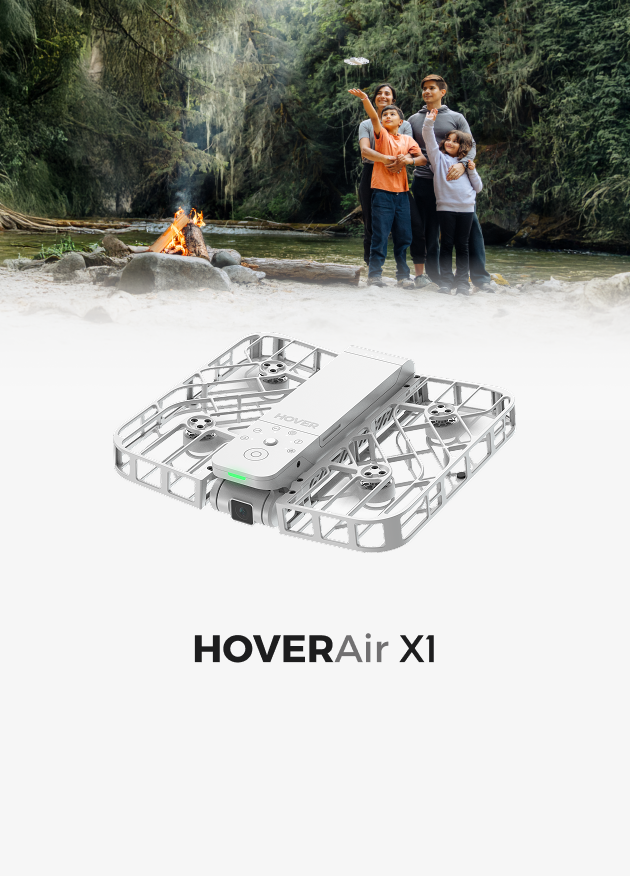
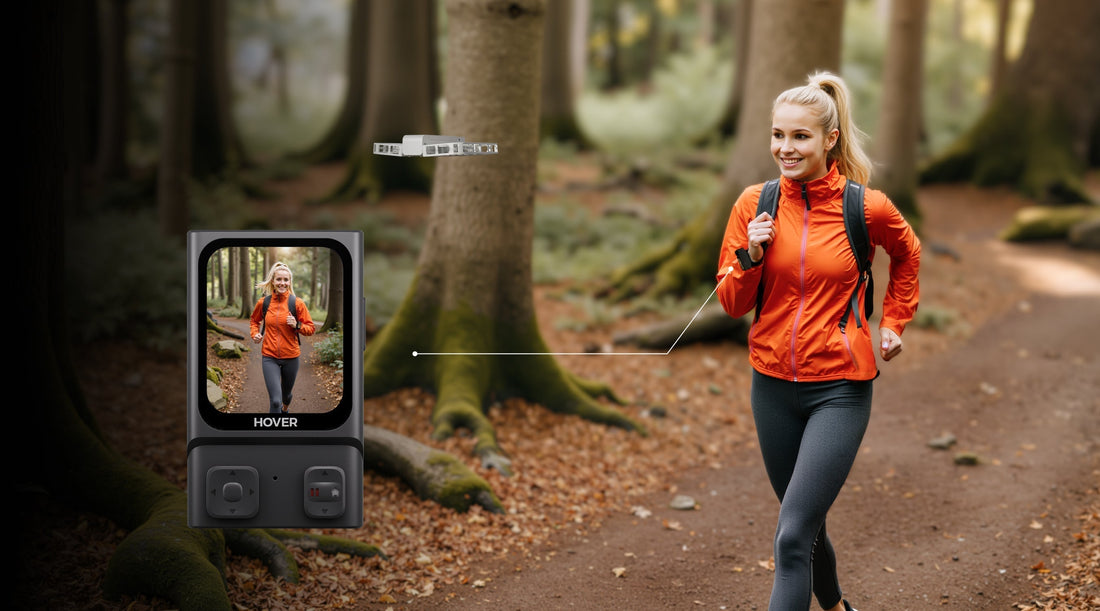
Starting today, your HOVERAir X1 just got a major upgrade — now compatible with Beacon. With the latest firmware update, you can unlock a whole new level of control and flexibility, including:
- Real-time flight monitoring
- Instant status updates
- In-flight parameter adjustments
- One-handed and two-handed control modes
- And more exciting features waiting to be explored
Step-by-Step: Getting Started with Beacon
A. If your Beacon firmware version is below v2.0.8, follow these steps to upgrade:
- Use the latest X1 App (v2.31.0 or later) to update your X1 to the latest firmware. After the update, you’ll see a “Turn on” button as shown in the image—please make sure to enable it.

- Then, tap “Confirm Activation” to enable the connection. Once activated, you'll see a prompt confirming that the Beacon is successfully connected to the flying camera.

- After the update is complete, restart your Beacon and flying camera before use
B.If your Beacon firmware version is higher than v2.0.8, follow the instructions below to update and use with your X1/X1 Smart.
- X1 Firmware Version: 7.8.1 or later
- Beacon Version: 2.0.8 or later
- X1 App Version: 2.30.0 or later
-
Update Firmware
- Make sure both your HOVERAir X1 and Beacon are running the latest firmware:
- Open the Hover X1 App
- Connect your HOVERAir X1 flying camera
- Follow the on-screen instructions to update both the X1 and Beacon devices
- Install the latest firmware on both the X1 and Beacon devices

-
Power On and Pair Devices
- Power on your HOVERAir X1 and ensure it's in standby mode
- Long-press the Beacon’s Power button to switch it on
- The Beacon will automatically search for your flying camera and attempt to pair
Manual Pairing Tip: If pairing doesn't occur automatically, press and hold both the Function (Fn) and Power buttons on the drone for 3 seconds to start manual pairing.
Once connected, the Beacon’s display will show your X1’s name — simply tap to complete the connection.
- One-handed / Two-handed Controller
For a richer one-handed motion controller or two-handed full-featured controller experience, install the Joysticks (A or B) onto the Beacon, switch the mode to Manual Control , and enjoy responsive remote operationUnlock full remote control with two unique controller styles:
- One-Handed Mode: Intuitive motion control with a single hand
- Two-Handed Mode: Enhanced control with full joystick support
To enable manual control:
- Attach Joysticks A or B to the Beacon
- Switch to Manual Control Mode in the menu
- Start enjoying responsive, hands-on operation
*Smartphone display support will be available in the next OTA update.
Key Features
| Features | Description |
| Patented Tri-state Modular design | Three distinct control modes. |
| Real-time Monitoring | The 1.78" OLED display lets you monitor footage on the go. |
| Flexible Settings | In‑flight adjustment of parameters; reclaim control at any point during automatic modes. |
|
One-handed motion controller |
Snap the Beacon onto the right Joystick for a one-handed motion controller that's easy to use and fun to fly. |
| Two-handed motion controller |
Transform the Beacon into a full-featured two-handed remote controller for more accurate control.* *Smartphone display support will be available in the next OTA update. |
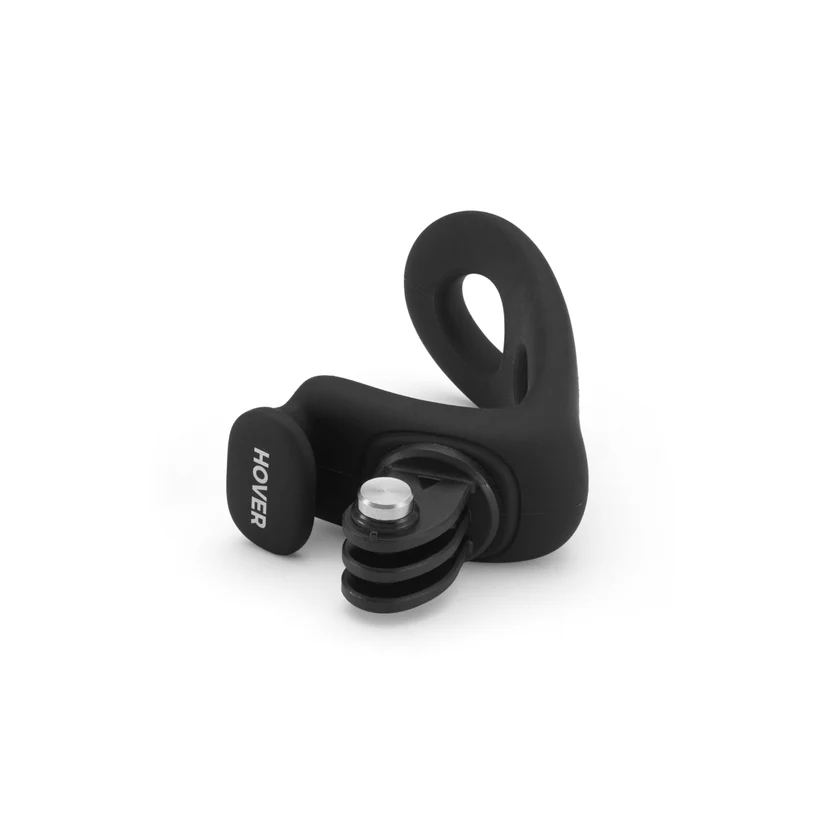
| Attach it Anywhere | Effortlessly attach your Beacon to your handlebars or clothing with our official accessories.(Beacon Wrist Strap, Magnetic Clip etc.). |
| Noise-cancellation sound recording |
Supports sound recording with crystal-clear audio and advanced noise reduction (coming in next release). |
Typical Usage
- Outdoor Sports: Running, skateboarding, hiking, and light mountain‑trail activities.

- Family & Group Events: Minimizes device wear; easy follow‑mode preview for spontaneous shots.

- Vlog & Multicam Shoots: Use the Beacon for audio capture and live‑view monitoring when coordinating multiple camera angles.
Differences in Beacon Compatibility: X1 vs. X1 PRO & PROMAX
| Operation / Feature | HOVERAir X1+Beacon&Joysticks | HOVERAir X1 PRO/PROMAX+Beacon&Joysticks |
| Real-time Monitoring | Yes | Yes |
| Maximum transmission range | 50m | 1km |
| Maximum flight altitude | 10m above ground level | 120m above ground level |
| Flight mode selection | Yes | Yes |
| Camera parameter adjustment | Yes | Yes |
| HoverLink | No | Yes |
| Return-to-home(RTH) | No | Yes |
| Noise-cancellation sound recording | Yes (coming in next version) | Yes |
| One-handed Controller | Yes | Yes |
| Two-handed Controller | Yes *Smartphone display support will be available in the next OTA update. |
Yes |
Get your Beacon for X1 now.
EU: https://eu.hoverair.com/products/beacon-bundle-for-hoverair
US: https://us.hoverair.com/products/beacon-bundle-for-hoverair
UK: https://uk.hoverair.com/products/beacon-bundle-for-hoverair
AU/CA/CH/NO/MY: https://global.hoverair.com/products/beacon-bundle-for-hoverair
FAQ
How do I charge the Beacon?
The beacon can be charged using the cable included in the package. You can also connect it to the joystick and charge both together via the USB Type-C port on the joystick.
How long does it take to charge?
The Beacon has an input power of 5W and takes about 60-90 minutes to fully charge. The JoyStick takes around 75 minutes to charge. When charging the Beacon & JoyStick together as a bundle, it takes approximately 2.5 to 3 hours. For faster charging, it's recommended to charge them separately.
How long does it last?
A fully charged Beacon (when connected to the device without JoySticks) lasts about 120 minutes.When using the Beacon with JoyStick A or multiple JoySticks, battery life extends to about 150 minutes. However, if used with a smartphone display, the battery life may be reduced to around 60 minutes.
What’s the maximum flight range when connected to the Beacon?
Maximum transmission range is approximately 50 m, with a maximum altitude of 10 m. As there is no return-to-home (RTH) function, we recommend flying within visual range. For extended flight distance and advanced control features, consider exploring the HOVERAir X1 PRO / PROMAX.
(*The maximum distance is measured in vast, open areas with minimal RF interference, such as mountains or coastal regions. Actual range may vary based on the environment and smartphone model.)
Can I fly over water?
No. X1 is not designed to fly over water, cliffs, or terrain with indistinct ground textures, including when paired with the Beacon.
What happens when the battery is low without return to home (RTH)?
The Beacon will display “Low battery, initiating forced landing”, with voice announcement and vibration alert.
What if I exceed height or distance limits?
The Beacon will warn you that limits are reached; the drone will hover and refuse further forward motion.
Can I adjust gimbal pitch with Beacon?
Yes.


