


Tips and Tricks for Filming Cycling Footage
Reaching for your phone mid-ride is risky, but honestly, it feels easier than dealing with a full camera setup. Many riders skip action cams because they just hate changing batteries all the time or getting stuck with hours of boring footage that never gets used. But filming doesn't have to feel like work. By simply planning your shots and using gear that follows you automatically—like a flying camera—you can capture the best riding moments.
Step 1: Plan Your Video Before You Ride
Don't just hit the record and hope for the best. That usually results in hours of boring footage. A quick plan helps you pack the right gear and prevents you from stopping every mile to mess with your camera.
Define Your Video Style
First of all, decide what kind of video you want to make. This choice determines the gear you need to bring.
- First-Person (POV): This shows exactly what you see. It is perfect for fast mountain biking or showing how technical a trail is.
- Cinematic: This focuses on the atmosphere. You prioritize beautiful light, the scenery, and the composition rather than talking.
- Vlog: This focuses on you. You talk to the camera and document the journey. The riding is just the background for your personal story.
Pick the Best Spots for Specific Shots
You can't stop constantly without ruining your workout, so look at your map ahead of time and pick just two or three specific spots for your best shots, like scenic bridges, sharp corners, or open ridges. If you‘re using a flying camera, try to plan your aerial shots for open stretches with plenty of light. HOVERAir's auto-tracking cameras can handle narrow trails with ease for some thrilling shots, while you'll get more cinematic video on open ridges or in clearings.
A Simple 4-Step Storyboard Template
You don't need a script, but following a standard sequence makes editing much easier. Here is a universal template that works for almost any ride:
- The Prep: A quick shot of pumping up tires or clicking your helmet buckle.
- The Grind: Show the effort. Capture the sweat and the slow climb up a hill.
- The Rush: This is the reward. Show the fast downhill or the sprint.
- The Finish: End with the view from the top or a post-ride coffee.
This simple checklist ensures you capture a complete narrative. You will finish your ride with all the necessary clips to build a great video, without turning your weekend adventure into a stressful film production.
Step 2: Select Essential Equipment for Solo Filming
Capturing a dynamic ride requires more than just a single camera angle. A combination of ground-based recording and aerial support allows you to build a complete visual experience.
Flying Cameras (Self-Flying Drones)
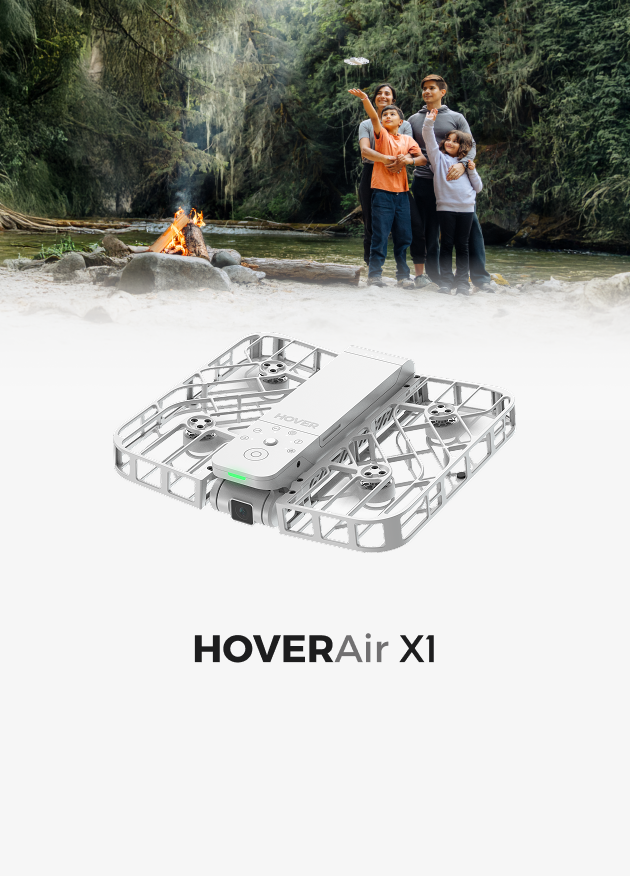
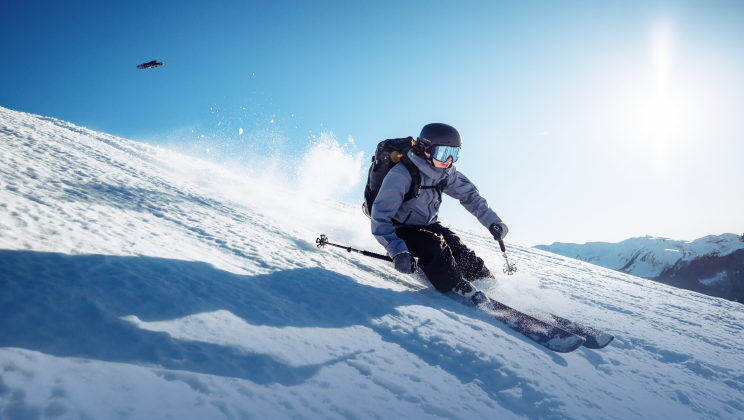
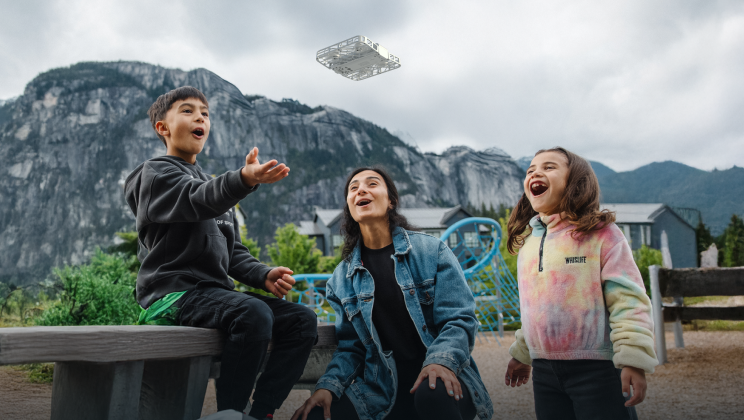
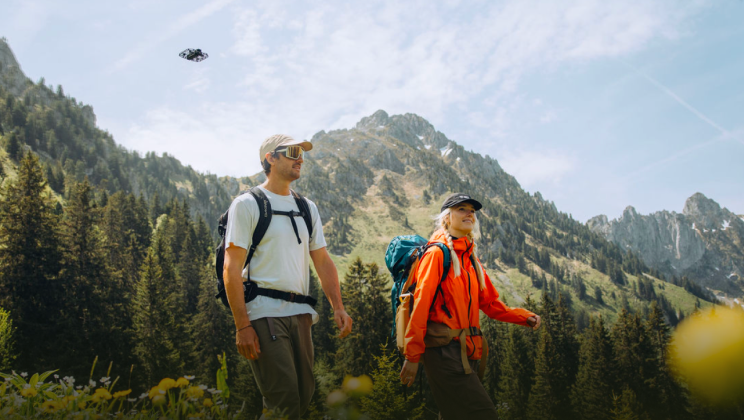
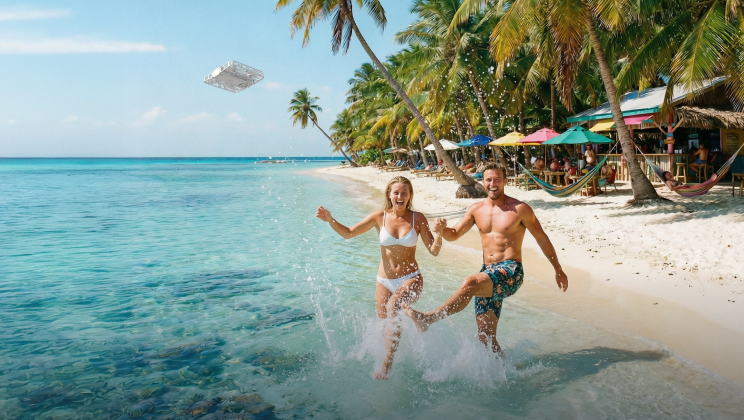
A flying camera drone fills the gap that on-board cameras miss by showing the full scale of the environment. It provides a third-person perspective that highlights your riding posture and speed within the landscape. Since you can't hold a remote controller while riding solo, you need a hands-free option. Devices like the HOVERAir X1 PRO are designed specifically for this, launching from your palm to track you autonomously. Since the X1 PRO and PROMAX are built to follow you even through complex paths, you can focus on the trail while capturing professional aerial angles with a pocket drone camera that travels anywhere you do.
Handheld & Mounted Cameras
The mounted and handheld cameras are your primary tools for documenting the details of the trail. Standard action cameras are perfect for the immersive First-Person View (FPV), capturing the intensity of the path ahead with high durability. In contrast, 360 cameras offer more flexibility; they allow you to re-frame the shot later during editing and use an "invisible stick" effect to simulate a camera floating just ahead of your handlebars.
Critical Accessories
Great cameras produce awful footage if they are not set up correctly. Two accessories can instantly improve your production value.
- Chest Mounts: For mountain biking or gravel riding, a chest mount usually works better than a helmet mount. It frames your arms and handlebars, creating a much stronger sense of speed and stability.
- ND Filters: ND filters force the camera to use a slower shutter speed in bright light. This creates natural motion blur, making the ground rush by smoothly just like it does in professional cinema.
These tools help you capture everything, from the technical details of the ride to the beautiful landscape around you.
Step 3: Master Key Filming Techniques
Having good gear is important, but knowing how to use it matters more. If you just stick a camera on your chest and ride for an hour, the video will get boring fast. You need to use specific techniques to keep things interesting.
Point the Camera Higher for POV
When using a chest or helmet mount, the biggest mistake is pointing the lens too low. If the camera only points at your front wheel, the recording will just be a blur of dirt. Aim the lens slightly higher than you think you need to. You want to capture the horizon and the trail ahead. This ensures the footage actually looks like what you saw, letting you relive the true flow of the ride.
Mix Side, Rear, and Top-Down Angles
Since the personal flying device tracks you automatically, your only job is to switch flight modes. Don't just stick to the default rear-follow angle for the entire ride.
- Side Tracking: Have the camera, like the X1 Pro, track you from the side to show your speed and how steep the hill actually is.
- Rear Follow: Have it track from behind to place you in the environment, like a video game character.
- Front Follow: Have the camera fly in front of you to capture your facial expressions and the intensity of your effort as you ride toward the lens.
Film Static Details to Break the Monotony
Don't just record the riding. Stop for a minute to grab close-ups of your bike chain, your dusty shoes, or the trees around you. Turn the camera around to film your face and heavy breathing after a hard climb. These small " B-Roll" clips add texture to the video and help connect the fast riding segments together smoothly.
Step 4: Get the Right Music and Sound
The right background music brings your video to life. It's much more enjoyable to watch than a clip filled with nothing but wind noise.
Match Music to Your Speed
Pick a song that fits your pace. If you’re flying down a hill, try something with a faster beat. If you’re just enjoying the scenery, go with something more relaxed. When the music matches your speed, the video feels much more natural.
Keep Some of the Real-World Sounds
A video with only music can feel a bit empty. Try to keep a little bit of the actual sound from your bike-like your tires on the dirt. The trick is to turn it down low so it stays in the background. It makes you feel like you’re actually back on the trail.
Step 5: Edit Your Clips into a Finished Video
Editing is simply organizing your files so they make sense. You don't need expensive software; most mobile apps are enough to stitch your ride together into something you actually want to keep.
Switch Between Perspectives
Don't just play one long clip from start to finish. That gets repetitive. Instead, cut back and forth between your cameras. Start with a wide shot from the flying camera to show the landscape, then cut to the chest camera when the trail gets rough. This combination keeps the video moving and shows both the scenery and the intensity of the riding.
Adjust the Video Speed
Real-time footage often looks slower than it felt on the bike. Unless you are hitting a jump or a technical corner, normal speed can look dragging on screen. Speed up the long, flat sections of the road to 2x or 4x speed. Save the normal speed (or slow motion) for the exciting moments. This highlights the best parts of the ride without wasting time.
Overlay Your GPS Data
Adding stats like your speed makes the video more fun. With the HOVERAir X1 APP, you can use the " Stats Dashboard" when you export your footage. It lets you overlay your route map, real-time speed, and distance, along with other data like date, flight altitude, and duration. It gives your footage a cool “dashboard” look and shows exactly how far and fast you went.
Match the Camera Colors
Your action camera and your flying camera might record colors slightly differently. One might look blue and cold, while the other looks yellow and warm. Try to adjust the "temperature" or "tint" settings in your editor so they look similar. It doesn't need to be perfect, but getting them close makes the video feel like one continuous ride rather than two different clips pasted together.
Start Filming Your Journey!
You don't need a whole production team to make a great cycling video. By simply mixing stable ground shots with aerial angles, you can capture the full experience without ruining your workout. Just pack your gear, stick to your plan, and turn your next ride into a memory worth watching.
FAQs About Filming Your Solo Rides
Q1: How to record videos while riding a bike?
A: The safest and best way is to go hands-free. Mount an action camera to your chest, helmet, or handlebars to capture your view without taking your hands off the brakes. To capture shots of your ride, use a flying camera like HOVERAir X1 Pro that follows you effortlessly. Avoid holding your phone while riding; it is dangerous and the footage usually looks too shaky to watch.
Q2: How to make good cycling videos?
A: Don't just record one long, continuous clip from start to finish. Instead, tell a simple story with a beginning, middle, and end. Mix up your angles by switching between ground-level POV shots and wider aerial views to keep the video fun to watch. Most importantly, edit ruthlessly—cut out the boring parts and only keep the best action and scenery.
Q3: What is the most important rule in cycling?
A: Safety always comes first. Never let filming distract you from the road or trail. If you are looking down at a screen or fiddling with camera settings, you are much more likely to crash. Always keep your eyes on the path and your hands on the bars. This is why using "set it and forget it" gear is essential for solo riders.
Q4: What is the ideal setup for recording bike riding videos?
A: For a solo rider, the best setup is a two-camera combination. Use a durable action camera on a chest mount to capture the intensity of the trail, and carry a portable flying camera like the HOVERAir X1 Pro for those third-person shots. This pair allows you to capture every angle of the ride without needing a cameraman or a heavy backpack.


