Know More About ND Filters
|
|
Temps de lecture 5 min
|
|
Temps de lecture 5 min
An ND (Neutral Density) filter is a gray-tinted filter, similar to sunglasses, used to control the amount of light entering the lens. It reduces the intensity of light uniformly across all wavelengths without affecting the color balance of the image. ND filters are typically mounted in front of the camera lens.
Before diving into the specific settings to use on your X1 PRO &PROMAX, it’s helpful to understand the basics of photography if you’re new to the subject. Three factors control the exposure of an image:
Aperture controls how much light reaches the image sensor. As you open the aperture, more light enters, making the image brighter. However, the aperture on the HOVERAir X1 PRO & PROMAX is fixed, though you can adjust the exposure compensation to control brightness.
ISO refers to the digital gain applied to the brightness of an image. However, it’s the last setting we want to adjust, as increasing ISO also makes the image noisier.
Shutter speed (also known as exposure time) refers to the length of time the shutter is open, allowing light to enter the camera and reach the image sensor. Shutter speed is displayed in values such as 1 second, 1/2 second, 1/4 second... up to 1/125 second or 1/250 second. A faster shutter speed shortens the time that light enters the camera, while a slower shutter speed extends this duration. Therefore, the slower the shutter speed, the more light can enter the camera.
Additionally, when setting the shutter speed, you need to follow the commonly used 180° rule.
The 180-degree rule is simple: set the shutter speed to one over twice the frame rate. For example, for 30 fps, use 1/60; for 60 fps, use 1/120. This creates a 180-degree shutter angle, resulting in natural motion blur. If you want more, you can go up to a 360-degree angle (e.g., 1/30 at 30 fps), but be aware this may add excessive blur. Experiment with angles between 180 and 360 degrees to find what works best. This principle also applies to high-frame-rate shots; at 240 fps, for instance, set the shutter speed to 1/480 for similar blur.
For the HOVERAir X1 PRO and PROMAX, feel free to adjust based on your preferences and shooting conditions.
Note: EV(Exposure compensation), ISO, and shutter speed on the HOVERAir X1 PRO & PROMAX can only be adjusted in manual mode and are not adjustable in intelligent modes.
As mentioned earlier, in intelligent flight mode on the X1 PRO & PROMAX, you cannot adjust EV (exposure compensation), ISO, or shutter speed. This makes ND filters especially useful for reducing light intensity and capturing motion effects in high-light conditions, such as when shooting in a ski environment. Here are the main uses of ND filters:
Here is a comparison video showing footage taken with and without an ND filter:
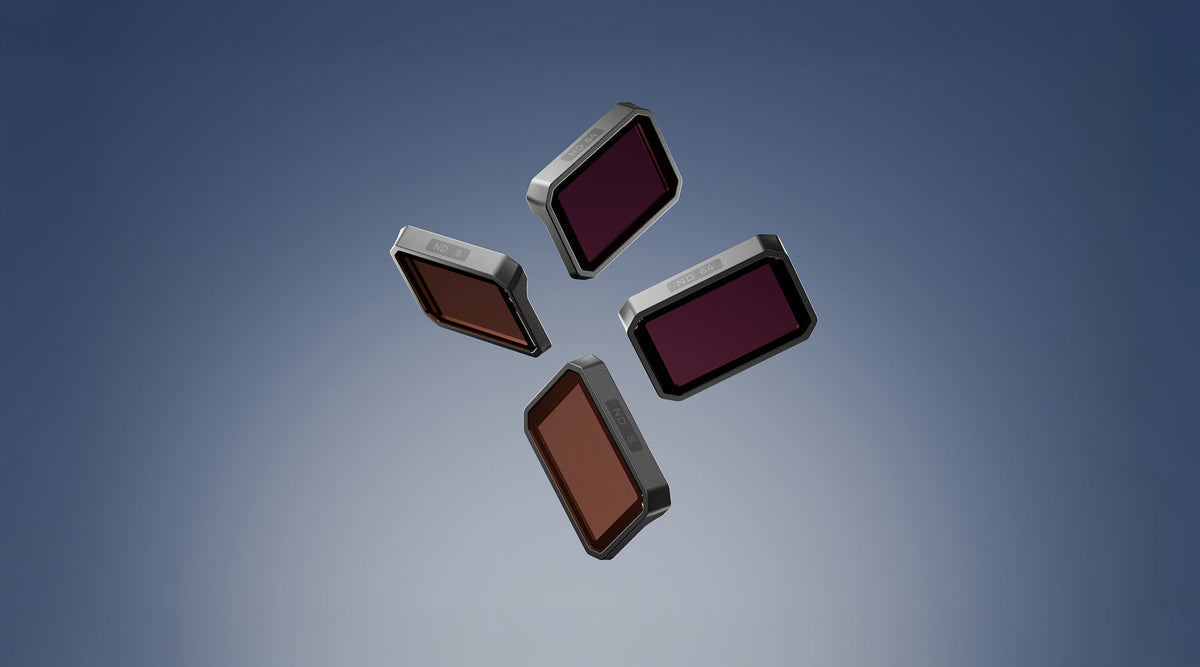
ND filters come in various levels depending on the degree of light reduction. The HOVERAir X1 PRO and PROMAX have the following filters: ND8, ND16, ND32, and ND64. Other common levels include ND2, ND4, and ND1000. These numbers indicate how much light is reduced. For example:
This grading system allows photographers to choose the right ND filter based on their shooting needs. Here are the parameters for each level of ND filter:
The ND filter pack from HOVERAir comes in a sleek case and includes four filters (ND8, ND16, ND32, and ND64). The camera has a small removable frame, and the ND filters securely slide into place.
This first time taking the frame off might feel a bit difficult, but this is how we've found it to be the easiest to use:
Note, that after the first few uses it will slide in and out more easily.
Watch the video below to learn how to change the ND filter on X1 PRO or PRMAX.
Your choice of ND filter depends heavily on the environment, and lighting conditions, and the effect you'd like. Here are some recommendations:
With practice, you’ll get a feeling for choosing the right ND filters and camera settings to capture the footage you want. Experimenting with different filters in various lighting conditions will help you refine your skills and achieve the effects you’re after. What are some of your favorite techniques for using ND filters? Let us know if you have any questions or need more tips—we’re here to help!

